How to launch an app on the App Store and Google Play: a step-by-step guide
Getting an app approved and in front of users is a project of its own — developer accounts, testing tracks, privacy disclosures, store listings and review. Here is the launch process for both stores, the common reasons apps get rejected, and how to plan a calm launch day.
Short answer
To launch an app on the App Store and Google Play, set up organization developer accounts weeks early, test with TestFlight and Google Play testing tracks, and make privacy disclosures match what the app and its SDKs do. Then build a clear store listing, submit with a working demo account, and use phased or staged releases on launch day.
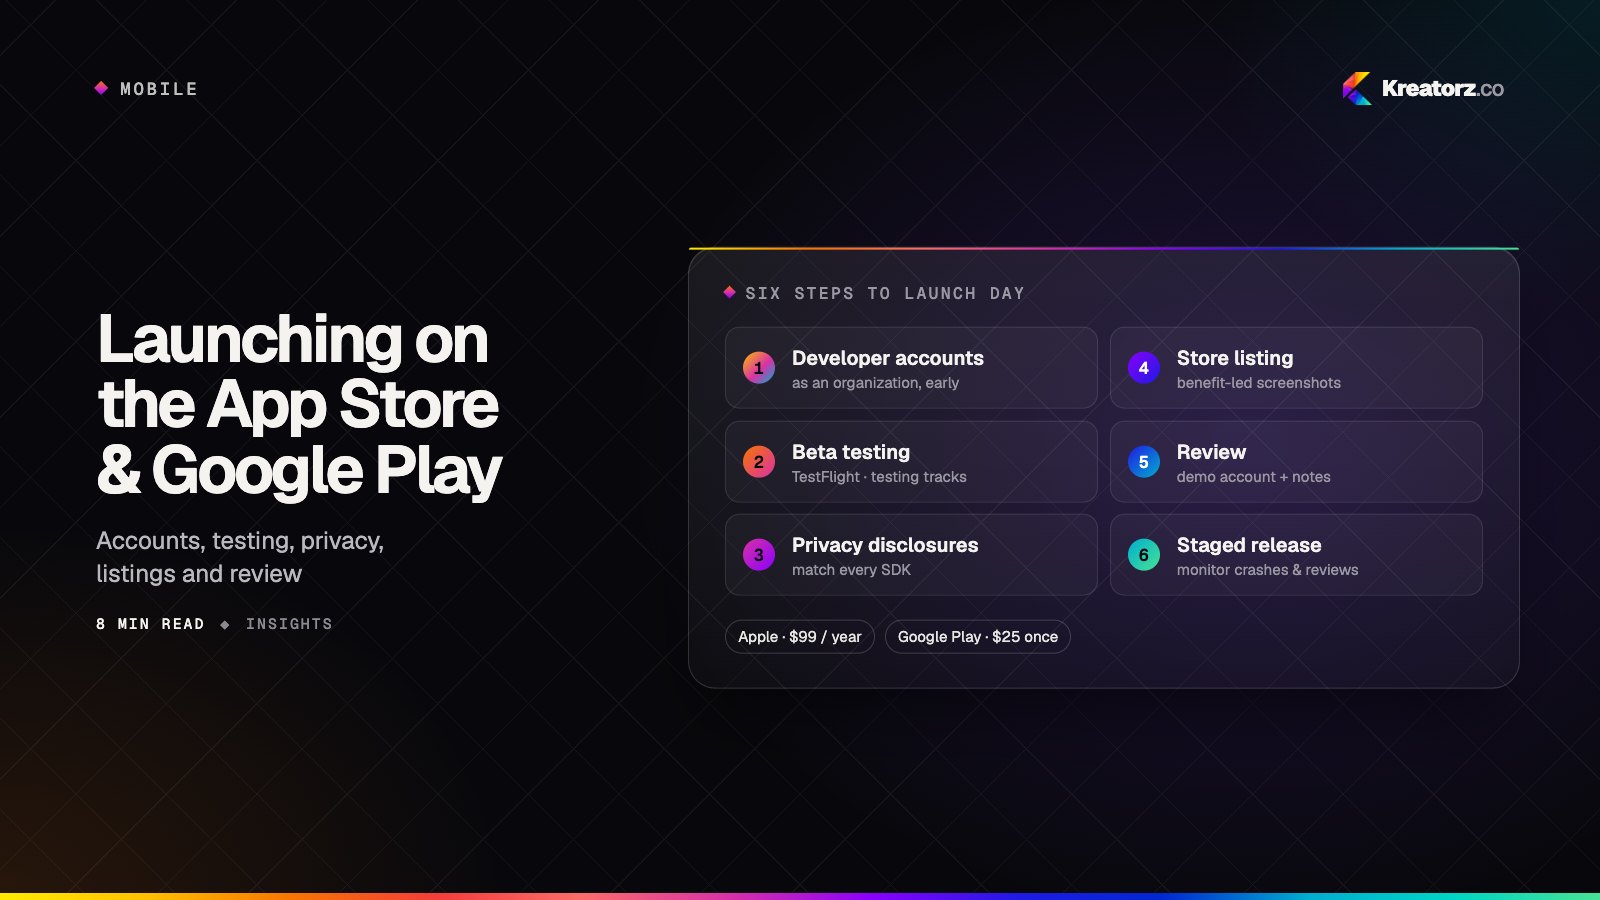
Finishing development is not the same as launching. Before people can download your app, it has to pass through Apple's App Store and Google Play — each with its own accounts, testing tools, privacy requirements, listing rules and review process. Teams that leave this to the final week often find their launch date slipping for reasons that have nothing to do with code.
This guide walks through how to launch an app on the App Store and Google Play step by step, the requirements that most often cause rejections, and how to plan a launch that goes smoothly.
The launch process at a glance
| Step | Apple App Store | Google Play |
|---|---|---|
| Developer account | Apple Developer Program, an annual membership ($99 a year for most developers) | Google Play Console, a one-time registration fee ($25) |
| Testing | TestFlight for internal and external testers | Internal, closed and open testing tracks |
| Privacy disclosures | App Privacy details on the product page | Data safety section |
| Store listing | Name, subtitle, description, keywords, screenshots, previews | Title, short and full descriptions, graphics, screenshots, video |
| Review | App Review checks every build and update | Google reviews new apps and updates |
| Release | Manual, automatic or phased release | Staged rollout to a percentage of users |
Fees and rules change from time to time, so always check the current requirements in each store's developer documentation before you plan.
Step 1: Set up your developer accounts early
Create both developer accounts weeks before launch, not days. Verification can take time, especially for organizations.
- Enroll as an organization if you are a business. Your company name then appears as the seller on the store listing, rather than a personal name. Organization enrollment usually requires business details such as a D-U-N-S number for Apple and identity verification for Google.
- Decide who owns the accounts. The accounts, certificates and signing keys should belong to your company. If an agency builds your app, they should be invited into your accounts with the right roles — not publish under their own.
- Note Google Play's testing requirement. Some newly created personal developer accounts must run a closed test with a minimum number of testers for a set period before they can publish to production. Check whether it applies to your account, and build that time into your plan.
Step 2: Test with real users before you submit
Both stores provide tools to get your app onto testers' phones before public release.
- TestFlight lets you distribute iOS builds to your internal team and to external testers by email or a public link. External builds go through a lighter beta review first.
- Google Play testing tracks — internal, closed and open — let you release Android builds to progressively larger groups.
Use beta testing to find crashes on devices you do not own, check performance on older phones, confirm sign-in and payments work outside your office network, and gather early feedback. Pair it with a crash-reporting tool so you see problems before testers report them.
Step 3: Get privacy and data disclosures right
Privacy is where many first submissions run into trouble. Both stores require you to describe what data your app collects and how it is used, and the answers must match what your app — and every SDK inside it — actually does.
- Apple's App Privacy details and Google's Data safety section both ask about data types collected, whether data is linked to the user, and whether it is used for tracking or shared with third parties.
- Audit your third-party SDKs. Analytics, advertising, crash-reporting and social sign-in libraries all collect data. Your disclosure has to cover them.
- Ask for tracking permission on iOS. If your app tracks users across other companies' apps or websites, Apple's App Tracking Transparency framework requires you to ask permission first.
- Publish a privacy policy and link to it from your store listing and inside the app.
- Offer account deletion. If your app lets people create an account, both stores expect you to let them delete it — and Apple requires that deletion can be started from within the app.
Getting this right is about trust as much as approval. For apps that handle health information, the bar is higher still — see our guide to building a HIPAA-compliant app.
Step 4: Build a store listing that converts
Your store listing is a landing page. People decide in seconds whether to download, so treat it with the same care as your website.
- Name and subtitle or short description. Say clearly what the app does. Include the words people would search for, naturally.
- Screenshots. Lead with the main benefit, not the login screen. Add short captions, and make sure every screenshot reflects the real app.
- App preview or promo video. Optional, but useful when your app is easier to show than to describe.
- Description. Open with the value, then the key features, in short scannable paragraphs.
- Keywords and category. On the App Store, use the keyword field thoughtfully; on Google Play, the descriptions carry more weight for search. Choose the category your users would browse.
- Ratings and support. Provide a support URL and a way for users to reach you from inside the app, so problems become support tickets rather than one-star reviews.
Step 5: Submit for review
When your release build is ready, you submit it in App Store Connect and the Google Play Console. Reviews are often completed quickly, but times vary, and a first submission is the most likely to be questioned.
To make review straightforward:
- Provide a working demo account if your app requires sign-in, along with any instructions a reviewer needs.
- Explain anything unusual — hardware the app connects to, location use, features only available in certain regions — in the review notes.
- Make sure everything works in the build you submit. Placeholder content, broken links and features marked "coming soon" are common reasons for rejection.
Common reasons apps get rejected
- Crashes or obvious bugs found during review.
- A login the reviewer cannot get past, because no demo account was provided or it did not work.
- Incomplete or inaccurate privacy disclosures, or a missing privacy policy.
- No way to delete an account in an app that lets users create one.
- Selling digital goods or subscriptions outside the store's in-app purchase system, where store rules require it. These rules are detailed and region-specific, so check current guidance for your business model.
- Too little functionality — an app that is essentially a website wrapper, with little that uses the platform.
- Misleading listings, such as screenshots that do not match the app.
If you are rejected, read the reviewer's notes carefully, fix the issue, and reply through the review center if something needs clarifying. Most rejections are resolved in a resubmission.
Step 6: Plan launch day
A calm launch is a planned one.
- Choose how to release. Both stores let you approve a build and release it when you are ready. Apple offers phased release over several days for updates; Google Play supports staged rollouts to a percentage of users. Use them to limit the impact of an unexpected bug.
- Coordinate the backend. Make sure servers, databases and third-party services are scaled for launch traffic, and that the API supports both the new app and any older versions still in use.
- Watch the numbers. Monitor crash rates, sign-up and conversion, server errors and reviews closely for the first few days.
- Prepare your channels. Line up your website, email, social posts and any advertising for the moment the app is live, with store badges linking to the right listings.
After launch: updates and maintenance
Launching is the start of the app's life, not the end of the project. Plan for regular updates with bug fixes and improvements, and for the annual cycle of new iOS and Android versions. Google Play also requires apps to target a recent Android API level to keep publishing updates, and both stores update their policies regularly. Budgeting for this from the start avoids unpleasant surprises — our guide to app development costs covers what to include.
Launching your app with an experienced team
Store submission rewards preparation: accounts set up early, privacy disclosures that match reality, a listing that sells the value, and a build that a reviewer can fully test. Our iOS app development and Android app development teams handle this process as part of every project, so launch day is about your users rather than paperwork. If you are planning a new app, get in touch — and see how long it takes to build an app for where launch fits in the overall timeline.
Frequently asked questions
How much does it cost to publish an app on the App Store and Google Play?
Apple's Developer Program is an annual membership, $99 a year for most developers, and Google Play charges a one-time $25 registration fee. Both stores also take a commission on paid apps, in-app purchases and subscriptions sold through their payment systems. Check each store's current terms before you plan.
How long does App Store review take?
Reviews are often completed quickly, but times vary and a first submission can take longer, especially if the reviewer has questions. Plan a buffer of several days before your intended launch date, and longer if Google Play requires a closed test for your developer account.
Can I publish an app under my company name?
Yes. Enroll in each store's developer program as an organization rather than an individual. Your company name then appears as the seller or developer on your store listings.
Why was my app rejected?
The most common reasons are crashes, a sign-in the reviewer could not get past, missing or inaccurate privacy disclosures, no in-app account deletion, payment rules for digital goods, limited functionality or misleading listings. The rejection message explains which guideline applies.
Do I need separate apps for iOS and Android?
You publish a separate build to each store, but you do not need two separate codebases. Cross-platform frameworks such as Flutter and React Native let one team build both apps from a single codebase.
Who should own the developer accounts if an agency builds my app?
You should. The developer accounts, signing keys and store listings should belong to your company, with your agency invited as team members. That way you keep full control of your app whoever builds it.
- Mobile app developmentWe plan, design, build and grow mobile apps for iPhone and Android — choosing the right technology for your product, not the one we happen to prefer.Explore
- iOS app developmentWe build iPhone, iPad and Apple Watch apps in Swift and SwiftUI that feel unmistakably Apple — fast, private by design and ready for App Store review.Explore
- Android app developmentWe build native Android apps in Kotlin and Jetpack Compose that perform on flagship phones and budget handsets alike — then ship them confidently through Google Play.Explore


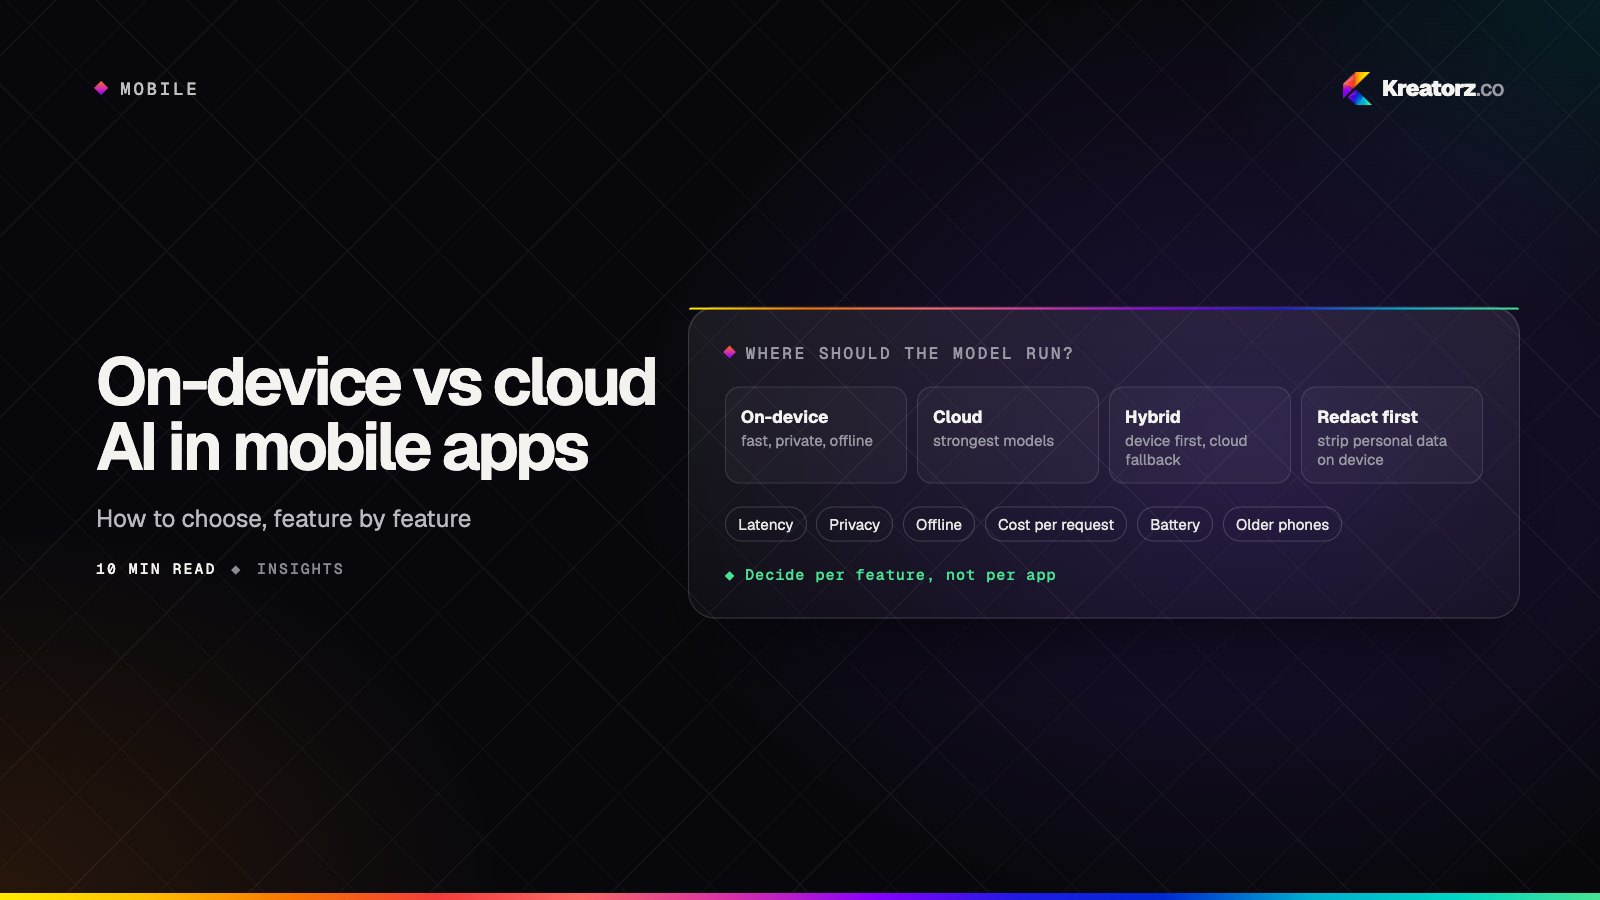
On-device vs cloud vs hybrid AI in mobile apps: how to choose
Phones can now run capable small models, and both Apple and Google offer on-device AI frameworks. That does not make the cloud obsolete. Here is a step-by-step guide to deciding, feature by feature, where the AI in your mobile app should run.
19 November 2026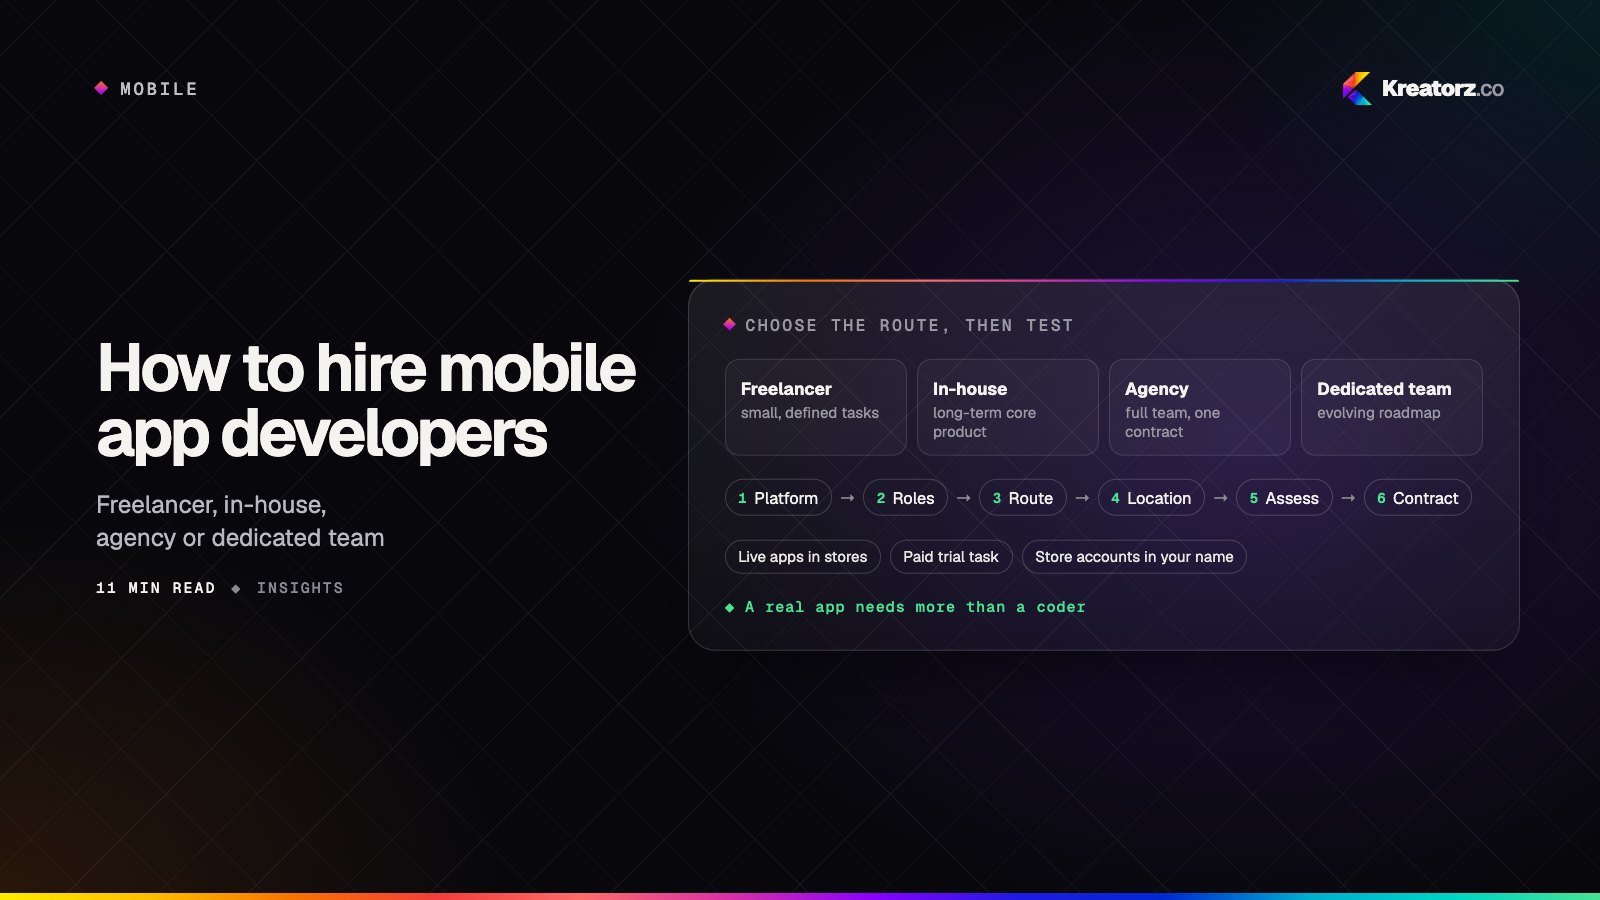
How to hire mobile app developers: a step-by-step guide
Hiring mobile app developers is about more than finding someone who can code. Here is a practical, step-by-step process for choosing between freelancers, in-house hires, agencies and dedicated teams, assessing developers properly, and protecting your app, code and store accounts.
18 November 2026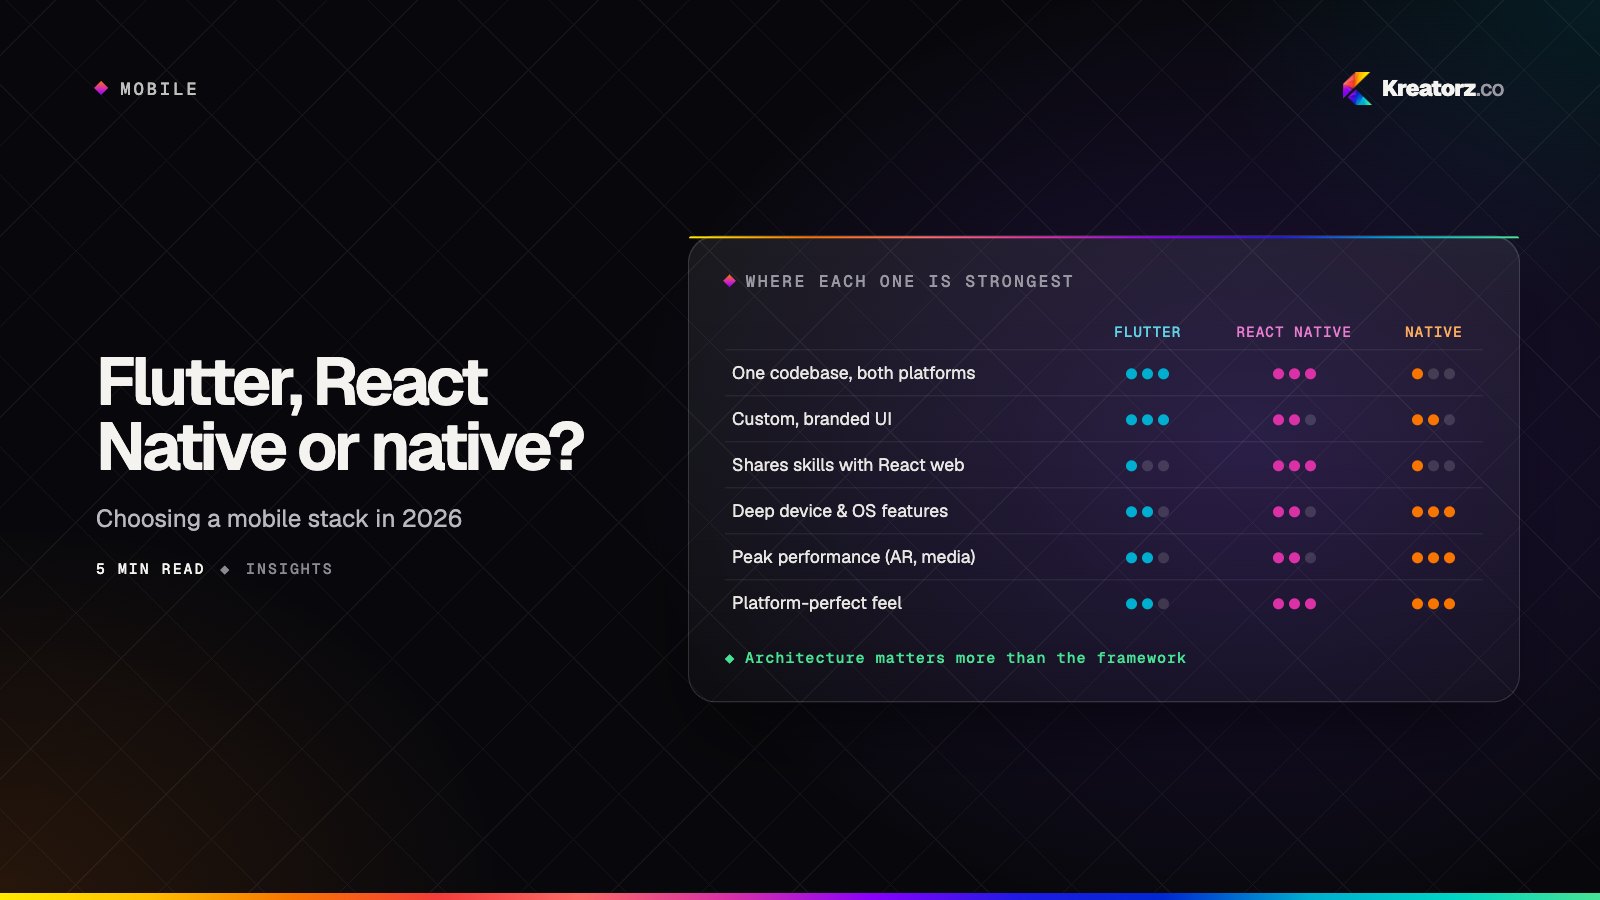
Flutter, React Native or native? Choosing a mobile stack in 2026
The cross-platform versus native debate has matured. The right answer now depends less on raw performance and more on your team, your product's demands and your plans for the next three years.
30 September 2026